Growing seeds isn't hard, after all doesn't Mother Nature do it all the time? However, if you want hardy, healthy seeds that give you vegetables, fruit or flowers all summer long, then a bit of planning is definitely needed.
It's important to know how to grow strong seedlings when seed starting, as well as when to sow your seeds, so that you can harvest at the ideal time. Let me give you some ideas, pointers and tips.

Planning Ahead
There's enough to do in the spring and summer without constantly worrying about your seedlings. Planning ahead for your garden is the best way to make sure everything is germinating at the right time so it can be transplanted in the ideal week of spring, and then harvested at just the right time in the summer or fall. Try using West Coast Seed's location specific seed planting guides and marking your calendar to make sure you remember.
Pro Tip #1 : If you sow seeds at intervals throughout the spring, then you can have a continuous bounty of fruit and vegetables in summer and fall. This could mean sowing seeds every 2-3 weeks, so you have a constant supply to add to the garden.

Giving Your Seeds A Fresh Start
Everybody loves fresh sheets just out of the laundry, right? Giving your new seeds a fresh start is just as important, so make sure your seed trays are completely clean before you use them. If you're re-using trays from last year then wash them down well, or put them through the dishwasher, to get rid of any contaminates that might cause disease.
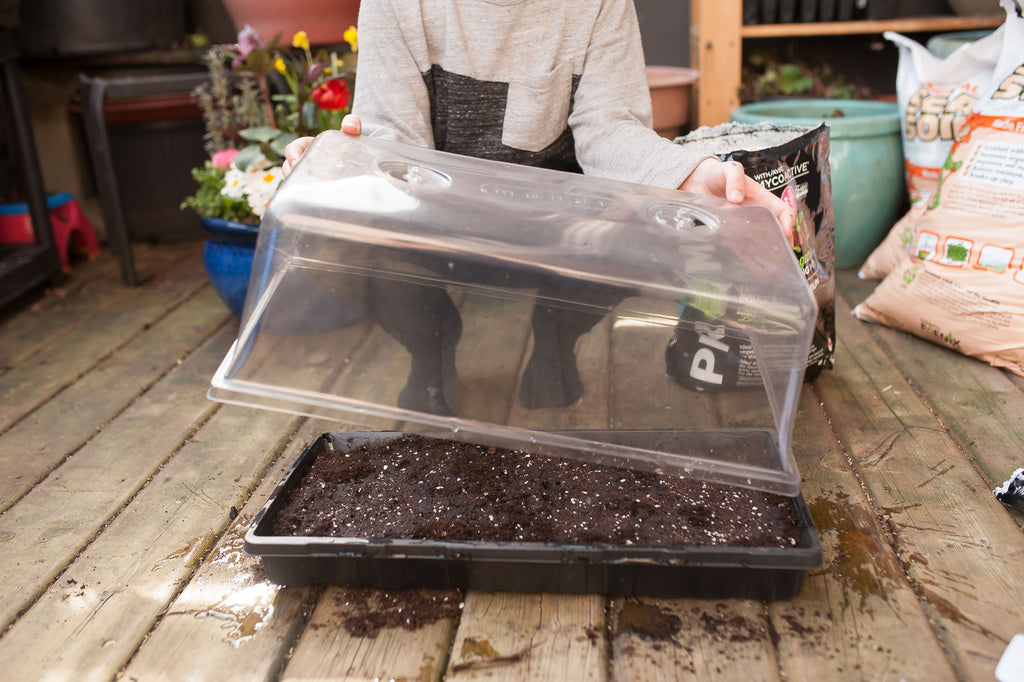
Humidity is incredibly important in making sure your seeds germinate into healthy sprouts, so be sure to have a dome or cover for your seed trays. These are inexpensive and give you the ability to control the humidity levels through the first weeks of their lives.
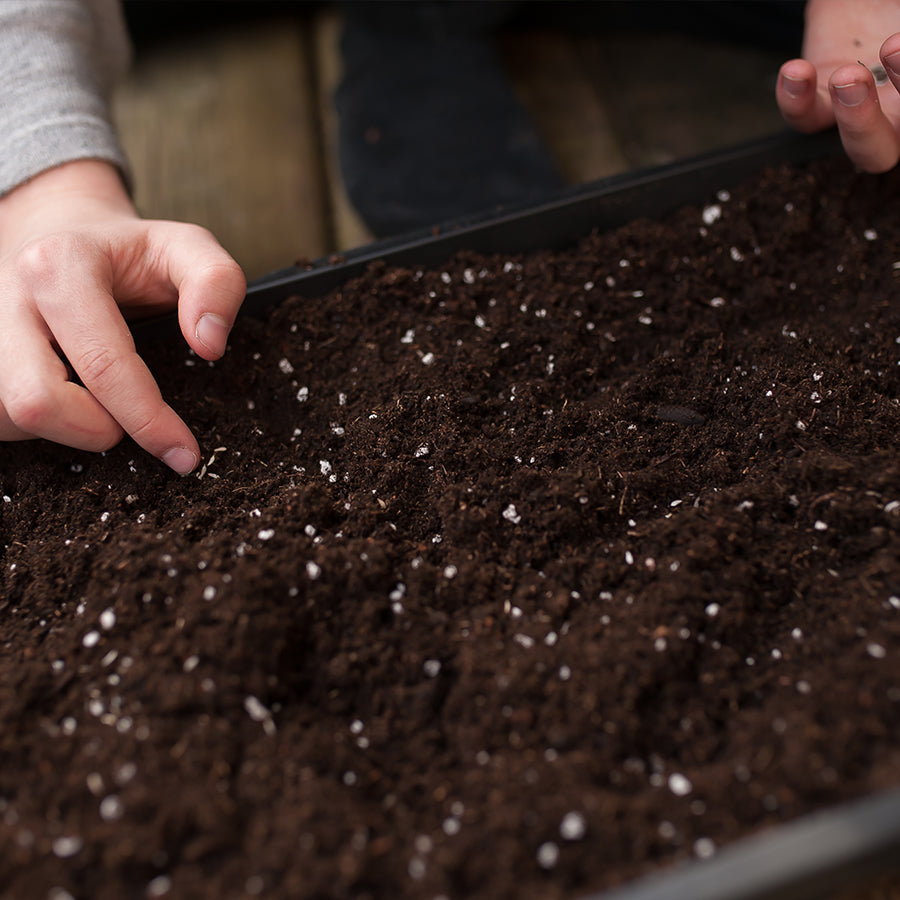
When choosing soil for your seed trays, always go for specialty seed starting soil, as it is much finer than regular potting soil and easier for the seeds to grow in. Keep it light and fluffy when filling the seed trays, and don't compact the soil.
Preschool for Seeds
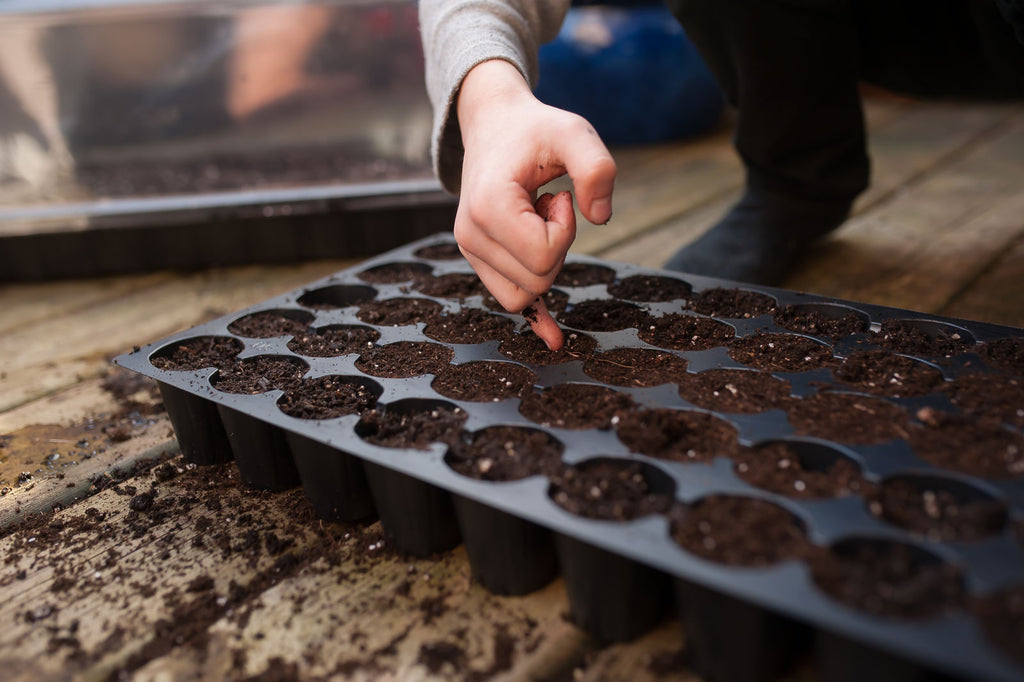
Seed starting is a lot like sending your kids to pre-school so they can learn a few of the basics before being transplanted into a regular school with the big kids. When you're distributing your seeds in your seed trays, you want to use the recommendations on the seed package for the distance between each one. (Let's not crowd those classrooms, right?) Then you need to tuck each seed into the soil, by covering them just enough to protect them without smothering them.
The amount of soil needed on top of each seed is the same as its width or length (whichever is longer). For example bean seeds need a half inch or more of soil to tuck them in, while mustard seeds only need a sprinkling of soil. Once they've been properly planted, just lightly water the seed tray and cover it with a dome. This will keep the interior humid and give your seeds the perfect atmosphere to germinate.

Always Look on the Bright Seed of Life
If you can't give your seed trays enough light with windows alone, try using lamps with growing lights or wide spectrum LEDs to control how much "sunlight" they are receiving and how fast they will grow for you. Don't forget to take the cover off your seeds once in a while to allow fresh air to circulate, especially when they have been under lamps or in full sunlight for long periods of time. You don't want mold growing in your seed trays.
Pro Tip #2 : If you're worried about keeping a constant temperature, or a warm enough environment for the seeds to grow, then try using a heat mat under your seed trays! These will create the perfect temperature for your seeds and save you sleepless nights.
Love Them and Leaf Them
Once your seeds have germinated, and have more than two leaves, you can move on to the next phase of their care! This means beginning to fertilize the seeds in order to keep them a beautiful dark green and give them nutrients for a strong start. I recommend using a water soluble fertilizer that will ensure they get fed quickly and consistently.
At this point in their growth, you also want to harden them a little bit by changing their environmental temperature a few degrees cooler (I recommend 70'F - 21'C) which will promote root growth.
Each type of plant has a specific ideal time to be moved out into your garden. Look on your seed packets, or use one of these location specific guides by West Coast Seeds, to plan out your transplanting schedule. You'll be able to tell when your seedlings are hardy enough to move by checking to make sure their roots reach all the way to the bottom of the seed tray.
Pro Tip #3 : Not all seeds are created equal, and sometimes your seedlings will end up with a few stragglers. It's always better to plant more seeds than you need in your garden, because then you can choose just the best to transplant once they're ready!
With a little planning and some easy tips, planting seeds will become second nature and you'll be filling your garden with seedlings this spring! Want to make this a family event? Read our blog post on how to plant seeds with kids, and get them involved in more than just the eating part of your edible garden!